Install Synology DSM 5.0 on PC
This topic will guide you all how to install “custom” Synology DSM 5.0 on PC
Please download all necessary components below
Nanoboot to help boot system and emulator PC as Synology hardware.
Download
1 – Boot Images
X64 ISO
X86 ISO
X64 IMG
X86 IMG
WIn32 Disk Imager to write IMG to USB drive
2 – Synology DSM 5.0 from Synology
X64 (DS3612xs)
- DSM 5.0-4493 (Main install)
X86 (DS214play)
- DSM 5.0-4493 (Main install)
- DSM 5.0.4482 (Main install)
3- Synology Assistant from Synology.

First, boot up target PC (Fake Synology NAS) with Nano Boot ISO file or transfer to USB device.
Remember that you can’t remove this CD or USB cause this helps boot process and emulate Synology hardware

Boot from ISO/USB image and wait ultil DiskStation Login appears

Open Synology Assistant then search for Synology device on network

Right click on detected Synology device and click Install

Browse to DSM 5.0 instllation file on harddrive then Next

Input admin password and server name then click Next
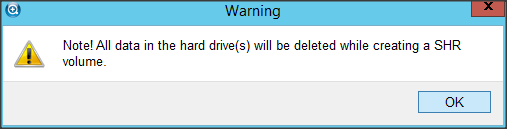
A warning dialog appears to warn about destroying all data. Click OK to go to next step

Setup network information for NAS device

Installation process, the fake NAS will reboot once

Installation completed

Open up Internet browser and type IP of fake Synology device

Click Next at Welcome Screen

Setup Quick Connect, just optional so I skip and click Next
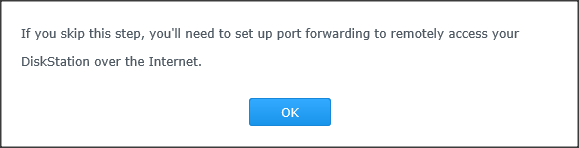
A dialog appears again, just click OK

Every is OK now. Click Go and start using your fake Synology NAS
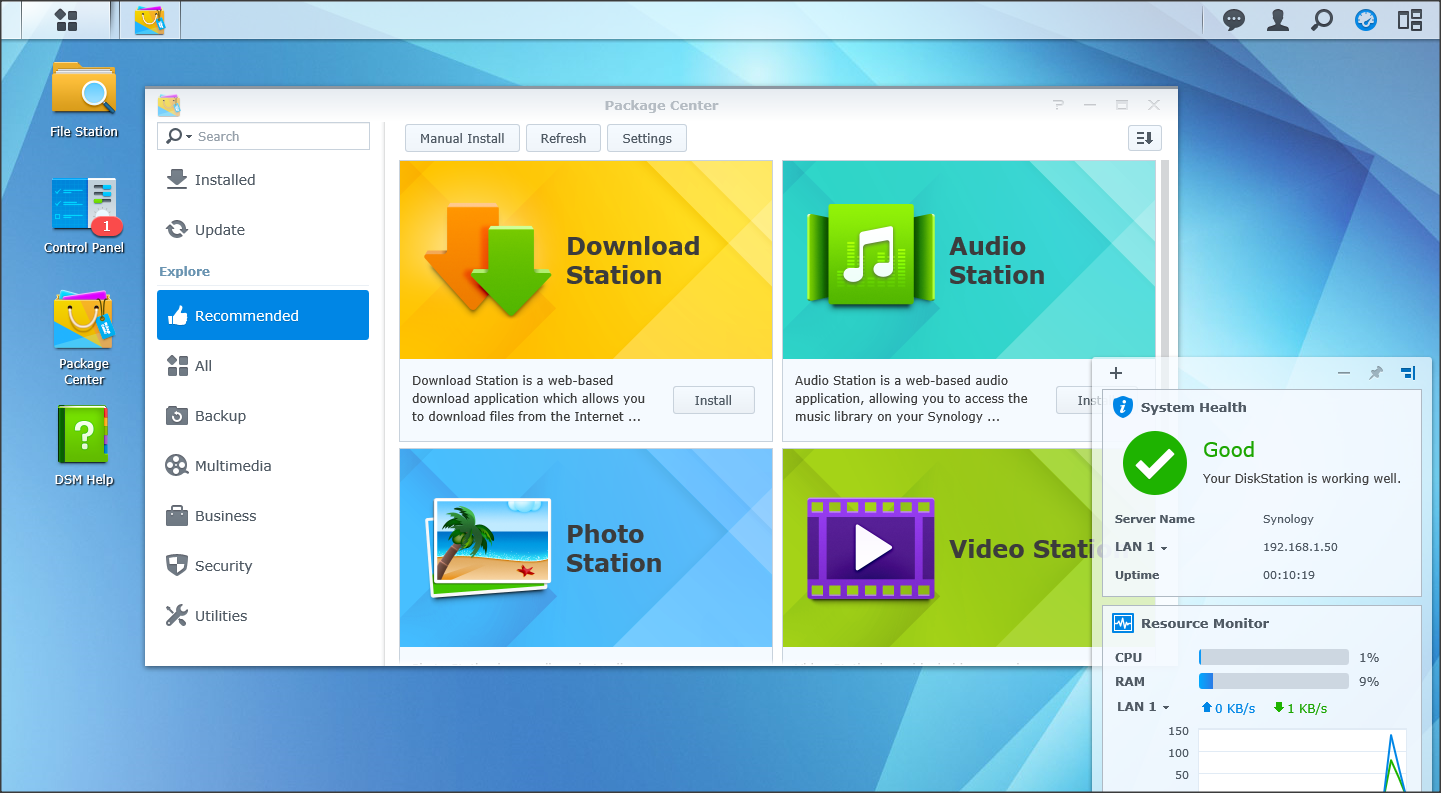
Interface, much better prior versions. Cheer!!!